


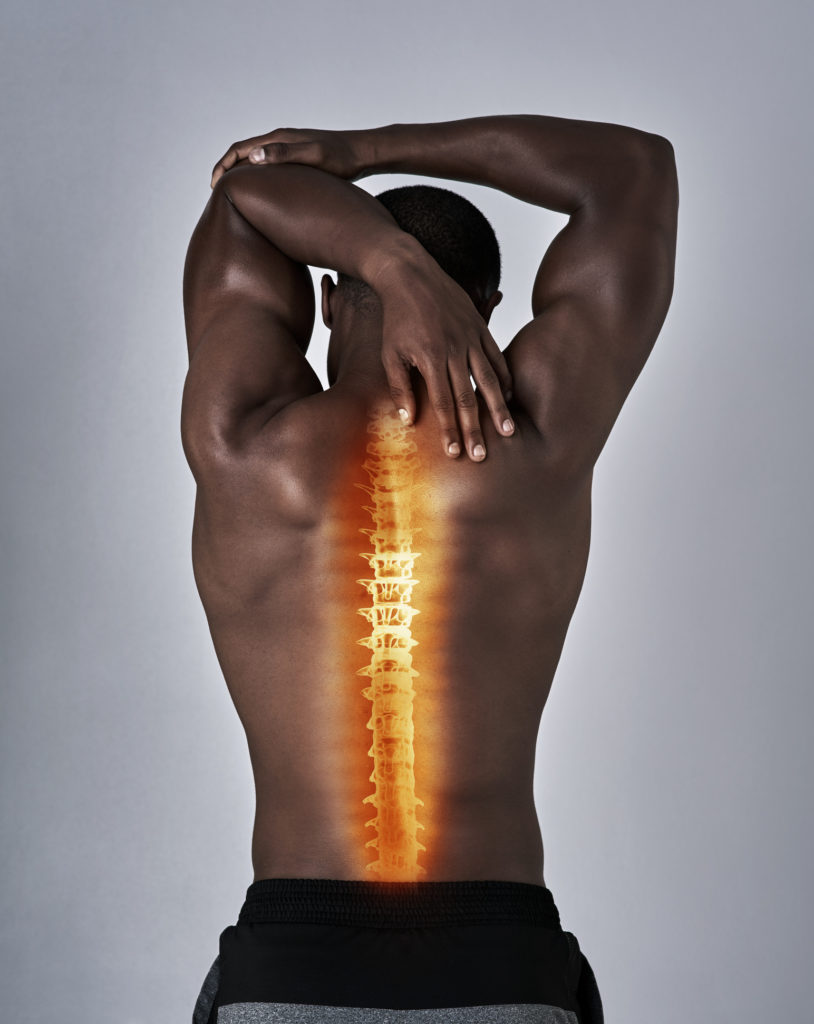

A herniated or ruptured disc is a condition wherein the spongy discs between your vertebrae rupture and leak, putting pressure on the surrounding nerves and often (but not always) causing pain.
While this sounds serious, the disc doesn’t leak into the rest of your body – it simply swells and is uncomfortably pressed against the nerve roots that attach to your spine and coordinate neural signals throughout the body. This is why a herniated disc can cause pain and tingling in strange places, from the arms to the legs.
Disc herniation can be caused by wear and tear, poor lifting technique, overworking the back, degenerative disc disease, aging, and obesity, among other potential factors. It’s a relatively common issue among the elderly, and maybe underdiagnosed because it can occur asymptomatically (i.e. no pain).
Treating a herniated disc largely involves treating the pain and helping the body reduce the swelling on its own. Bed rest isn’t exactly conducive toward this – while it may be recommended right after the injury occurs, long-term treatment involves medication and movement.
Always Consult Your Doctor Before Performing Herniated Disc Exercises
There is a lot of sound medical information on the Internet and countless resources on medical research data, valuable and healthy exercises, and succinct video tutorials on each of them. But the issue is that not all of them may be useful or safe for you, and there is also a lot of bunk out there.
The information in this article is not meant to represent or replace a medical professional’s opinion, much less your own doctor. While most of these exercises are helpful to someone with a history of disc herniation, it always depends on when they were injured, which disc was herniated, and several other factors, including fitness level, body weight, prior injuries, disabilities, and available equipment.
Always consult your doctor and physical therapist before training after an injury or performing any rehab of your own. They will usually be happy to provide a few movements or exercises you can perform every other day or refer you to someone who can help.
1. Spinal Decompression
What it is: Spinal decompression involves the natural use of gravity to pull your vertebrae apart gently for nice, quick relief. This doesn’t help with healing or strengthening but can be an immense source of relief in the worst days.
What you need: Either a bar high enough that you can comfortably hang off it and relax your legs, or a special spinal decompression device, usually a reversal table or an inversion chair.
If you have the strength in your shoulders and hands to hold onto a bar for some time, you can use one to decompress your back. Alternatively, if you are too heavy to hang off a nearby bar or cannot hold yourself, an inversion chair can help achieve a similar effect but may be considerably less safe. You can also ask your doctor for alternative ways to provide some physical relief in the back.
2. Neck Stretches
What it is: Simple, safe neck stretches can provide similar relief to decompression at a smaller scale. These are specific to certain neck injuries, and never do these without being cleared by your doctor and PT. The neck is relatively strong yet still fragile enough that great care needs to be taken in its rehabilitation.
What you need: Nothing. These can be done while seated or standing. Never take things too far with additional resistance or added force, such as your hands. Do not push down on your head to stretch your neck further.
Begin with a set of left to right stretches, at least once a day, alongside ear-to-shoulder stretches and gentle chin tucks and chin-ups. Again, avoid pushing your head to get a deeper stretch.
3. Child Pose
What it is: Child pose is a yoga resting pose that puts the entire back in a relaxed state of flexion, which can help decompress your spine and reduce pain.
What you need: A mat, and a few physical prerequisites.
Start kneeling on the mat, with your feet flat on the floor and your butt on your ankles or the soles of your feet. Bring your arms up and down onto the mat, and fold your body over your kneeling thighs, until your forehead touches the ground. Breathe in and out, relaxing a little more with each exhalation.
It can be difficult to comfortably hold this position while obese because it requires you to kneel on your heels and fold your body over your thighs. This can lead to a lot of pressure on the legs or make it difficult to breathe.
4. Cat and Cow
What it is: Another exercise commonly seen in yoga, during which a person gently and repeatedly brings their spine in and out of flexion and extension.
What you need: A mat. Start on all fours (hands and knees), shoulder and hip-width apart. Begin by pushing through your arms to buckle your back like a cat, pushing your shoulders up and away from the floor, and exhale. Then, as you inhale, gently lift your head and look up as you bring your belly button as close to the floor as possible, stretching your back in the process.
This movement will need to be cleared with a PT or doctor, depending on where your herniation occurred. Some types of disc herniation can be aggravated by spinal extension. Stop doing this exercise if it feels uncomfortable or painful.
5. Plank and Side Plank
What it is: A useful bracing exercise for the core muscles.
What you need: A mat, or some other type of thin cushioning for your hands or elbows. Begin with your toes and hands on the floor or mat, and bring your hips down until your legs and upper body are in alignment while your arms are perpendicular to the ground. Breathe slowly through the belly, and focus on bracing the muscles in the core.
Do not let your belly drop down or your hips rise. Hold this for a set number of seconds, and perform a few sets, depending on your fitness level and condition.
6. Bird Dog
What it is: A plank variant that further strengthens the muscles bracing the spine and core.
What you need: A mat or floor. Begin on all fours, as with the cat and cow, and start by fully extending one leg behind you until it is parallel to your upper body. Then, extend the opposite arm until it too is parallel to your upper body. Hold, and reserve sides.
7. Herniated Disc Exercises: Hip Hinge
What it is: A hip hinge is another simple bracing exercise involving the back and core muscles.
What you need: Nothing, to begin with. It’s best to perform these exercises with no resistance, to very little resistance, depending on what your doctor or PT recommends.
Begin by standing upright, hands to the side or clasped together on your chest, and knees gently bent. Breathe in, and slowly push your hips and butt straight back.
The spine remains neutral throughout the movement – neither overly flexed nor extended. Focus on belly breathing, push your butt far back until you feel a stretch throughout your hamstrings, and then push your hips forward until you’re standing tall again.
You can review yourself from the side with a video app and check your upper or lower back for any signs of rounding. As you perform this exercise, you will feel both a stretch and some tension in the hamstrings and glutes and some tension in the back as it keeps your torso stable.
Preventing Injuries Through Herniated Disc Exercises
Exercise isn’t just a useful tool to reduce pain while recovering – it’s also an excellent prophylactic tool to avoid herniation in the future. Strengthening key muscle groups allows you to better protect your spine from damage by incrementally adding resilience with each training session. There are a lot of different approaches to building strength, but it helps just to get started to begin with.
Once your doctor or PT clears you for regular exercise, you can refer to them for a regimen focused on building strength in the core, back, and legs. Exercises that safely load the spine, such as squats, weighted carries, and deadlifts, can help reduce injury. Always start with little resistance (especially if you have no training history), and work your way up (i.e., progressive overload) to build strength.
A stronger, healthier body is built largely through sleep and nutrition. A good exercise program will provide the impetus for your muscles to protect the spine and induce adaptations in the discs, which lead to a lower injury rate. Still, your body needs the resources and recovery to act on all that training and produce healthy physiological change.
Aside from training and diet, other factors that can help reduce the recurrence of a herniated disc include:
- Better ergonomics at work (if you work manually).
- Quitting smoking.
- Addressing potential causes of low bone density.

